GIMP – extend and export
In this post I will cover the following topics:
- GIMP themes and extensions
- Creating simple background images with GIMP
So far I haven’t really used GIMP very much. So I guess it’s about time to start creating some images. But before starting let’s change some settings. E.g. there are quite a lot of different themes available to update the user interface. One nice example is the theme package from rgb4u:
http://gimpstuff.org/content/show.php/GIMP+Theme+Project?content=165803
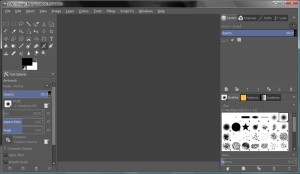
As an example this is how GIMP looks like using the CS6-grey-1-blue theme.
The installation is pretty simply. You just drop the new theme folders into the gimp theme folder (the folder names are listed in Edit>Preferences>Folders>Themes). Then you can start GIMP and go to Edit>Preferences>Theme and select the theme.
There are also quite a few extensions available for GIMP to add new tools and features. E.g. please see “GIMP Extensions Pack for Windows”:
http://registry.gimp.org/node/27656
I installed one extension called “Save for Web” which makes it easy to reduce the image file size when exporting.
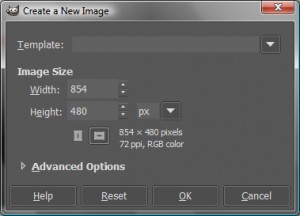
So let’s start and create some simple background images. In GIMP select File>New and specify the N9 screen size (854×480).
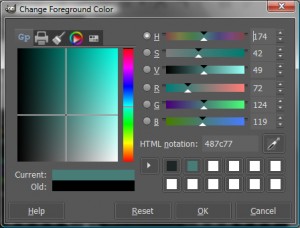
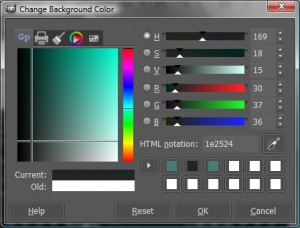
This will create an empty canvas. Let’s next put in some basic gradient fill. For that I will need to change the foreground and background colors:
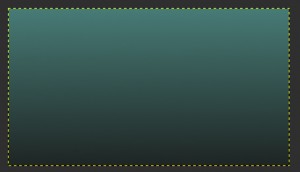
And then select the Blend tool ![]() and draw a vertical line from the canvas top to the bottom. This should be the result:
and draw a vertical line from the canvas top to the bottom. This should be the result:
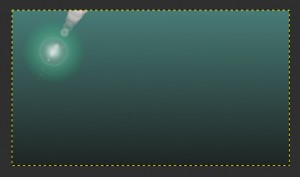
Next we could add some filtering effect, e.g. Filters>Light and Shadow>Gradient Flare (take the default one).
Export this as landscapeBg.jpg using File>Save for Web…
We can easily create also a portrait version. Just select Image>Transform>Rotate 90° clockwise.
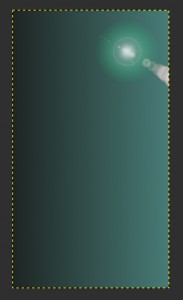
And export this to portraitBg.jpg
That’s it. We can test those background images in the next app.
