Install QtSDK 1.2.1 with the offline installer
It seems that the developer.nokia.com site does not provide the Qt SDK installation packages any more. However, it is still possible to install the full development environment for N9 using one of the offline installation packages.
I have already set up the SDK on my Windows 7 and LInux Mint boxes. I also have one fresh installation of Windows Vista (64-bit Home Premium). This time I’m going to use the offline installer to install the SDK to the Vista box.
You can download the offline installers for windows (32/64-bit) and linux (64-bit) using the following links.
| Target OS | Installation package (zipped exe file) | MD5 checksum (the exe file) |
| Windows 32/64 (offline) (1.66GB) | QtSdk-offline-win-x86-v1_2_1 | ef3c33cb8c5aa3104a83cec592da8cc1 |
| Linux 64 (offline) (767 MB) | QtSdk-offline-linux-x86_64-v1.2.1 | d200c6aa8684e9963d2ea4354266da3f |
First unzip the windows installer package and verify that the MD5 checksum matches (for windows you can use e.g. fciv.exe, available as a free download from Microsoft).
Next start the installer (run as administrator) and proceed.
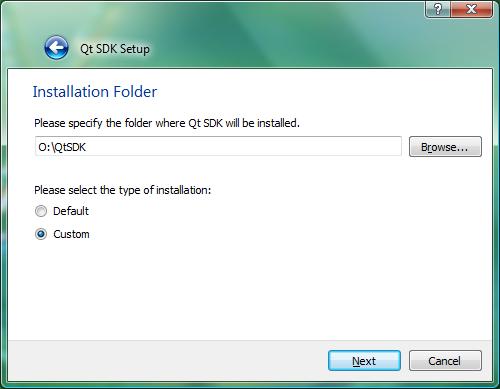
Select the target folder and installation type. I will use the custom installation option as before.
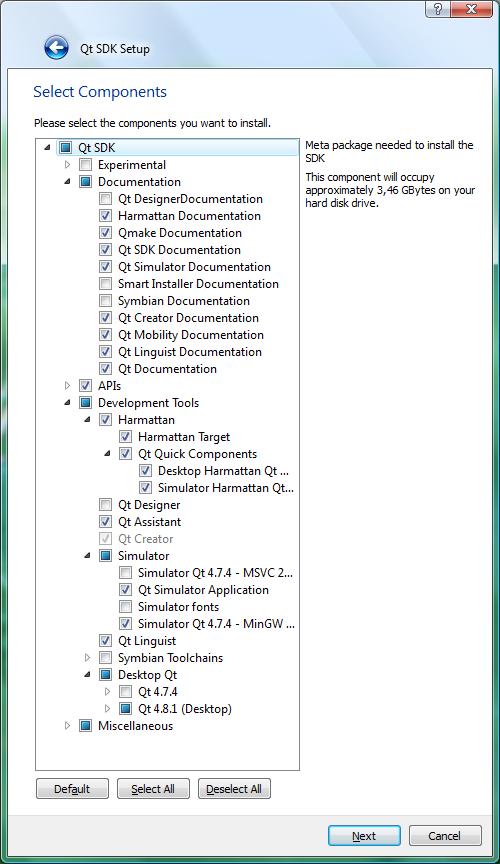
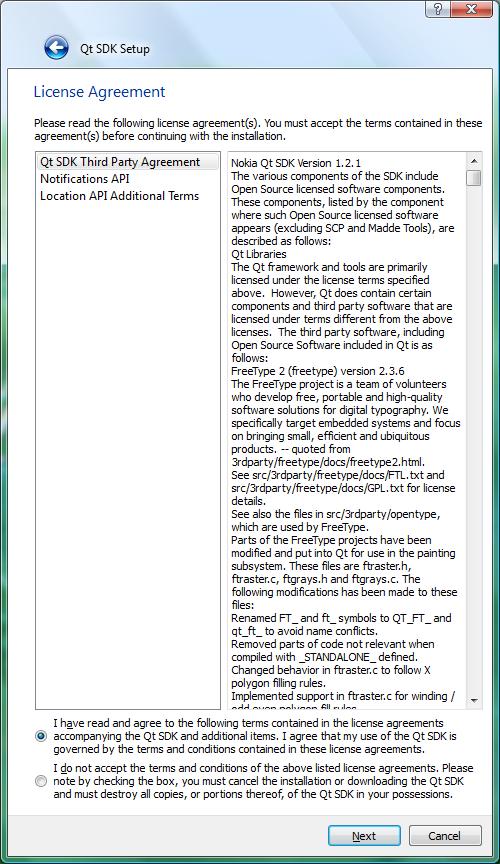
These are the options I have used before (only harmattan selected). There is no option to install the emulator like with the online installer. However, I have not seen any real use for the emulator so that is no big deal (the simulator should be ok for most purposes). Accept the license agreement.
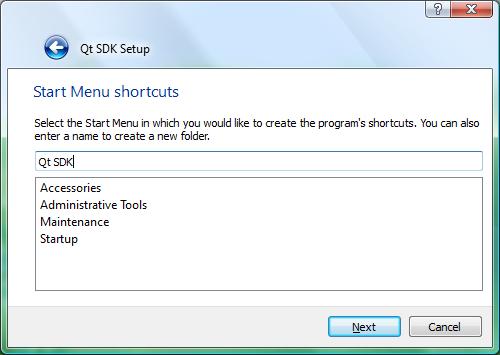
Select the default for the start menu shortcut.
The summary page is shown.
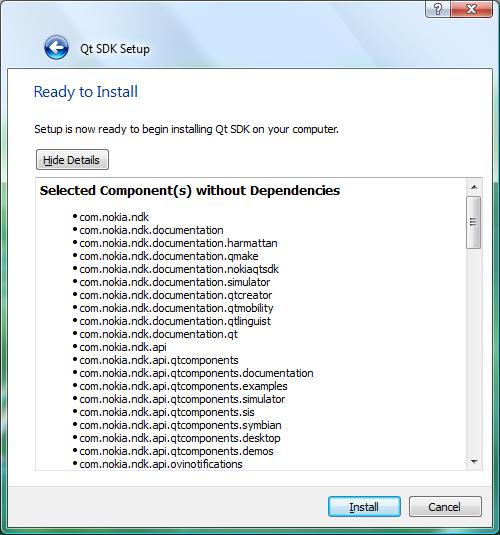
Click Install to start the installation.
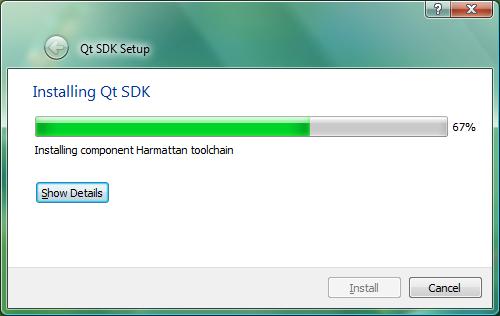
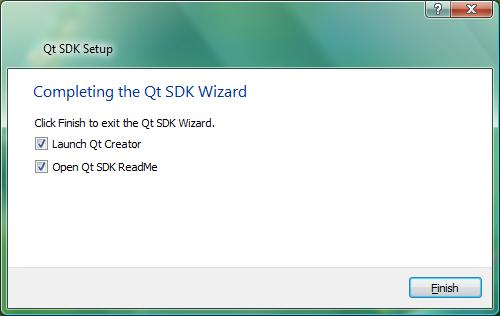
That’s it. The Qt Creator tool can now be launched.
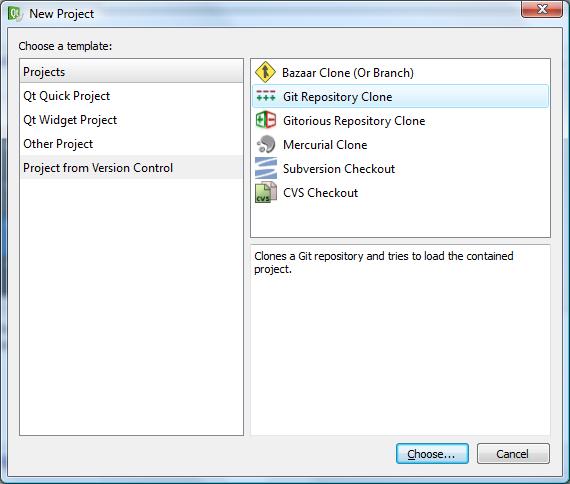
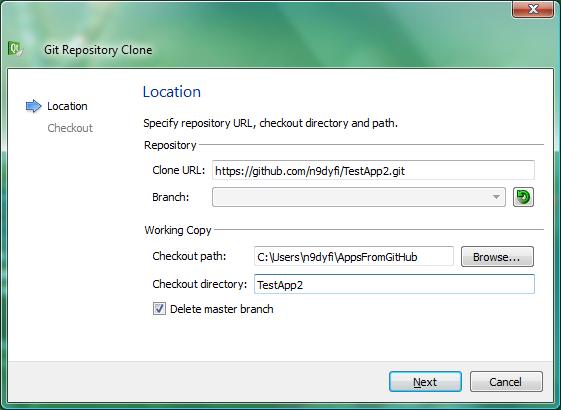
For testing let’s also install Git (see Installing Git for version control). Then we can create a new project easily by downloading one of the test apps from Github (select Project from Version Control>Git Repository Clone).
I’ll use the TestApp2 project.
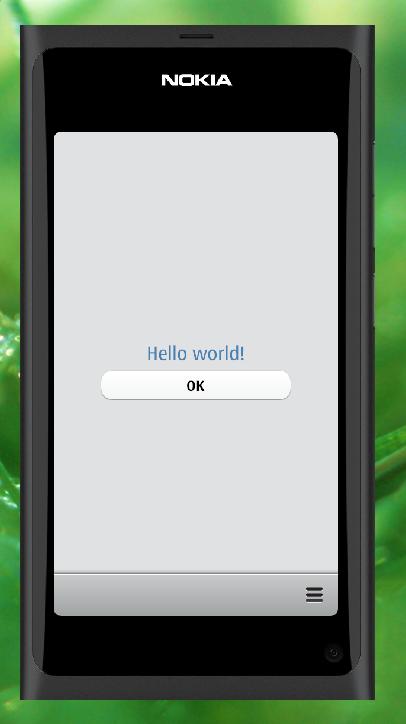
Select the Qt simulator as target and click the play button. The simulator starts and runs the application like before (remember to change the com.nokia.extras platform from Symbian to Harmattan in the Application page of the simulator control panel).
How about running the application on N9 i.e. using the Harmattan target? I have described the basic steps already some time ago (see Using the Harmattan target). The steps are still valid except that we have a problem: the extra packages needed to enable the developer mode on N9 are no longer available as the official download site has been shut down.
Luckily there are community supported backup repositories that contain all the needed packages. All we need to do is to replace the existing repository definition with a new one. I think the easiest way to accomplish this currently is to use the OpenRepos site (see About OpenRepos). Just follow the instructions there and install the Warehouse application to the N9.
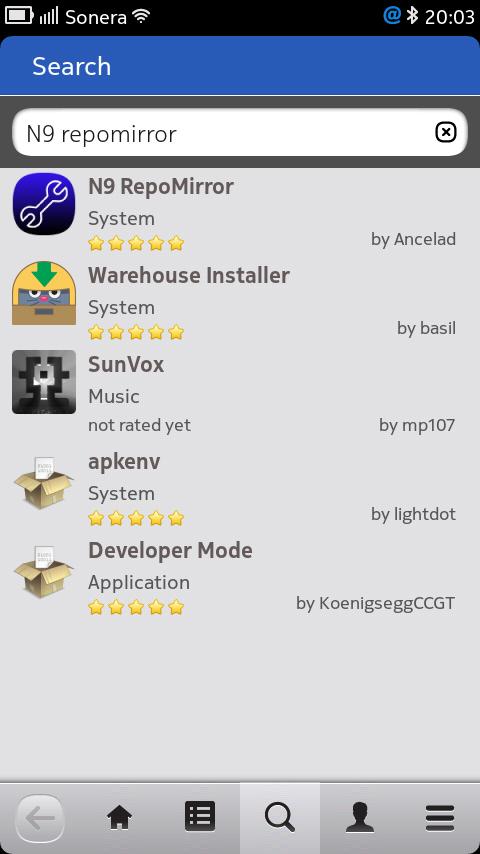
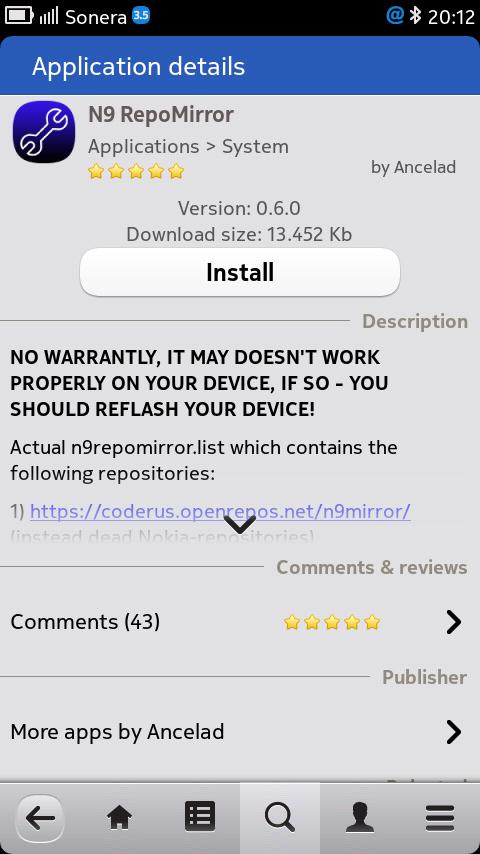
When the Warehouse app is installed we can run it and search for the package: N9 RepoMirror.
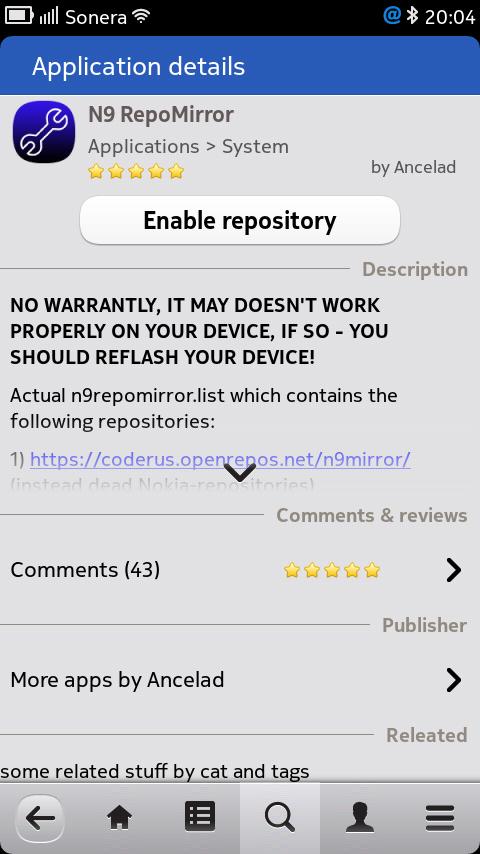
Select the package and click Enable repository. This will allow installing the package.
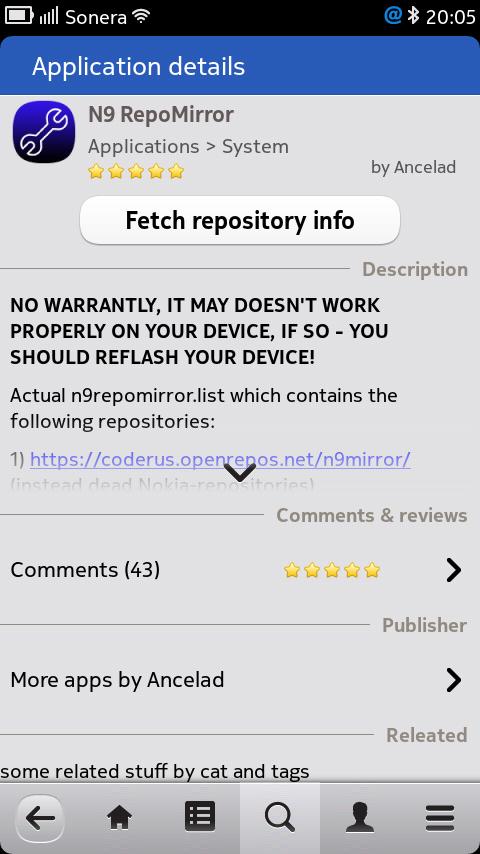
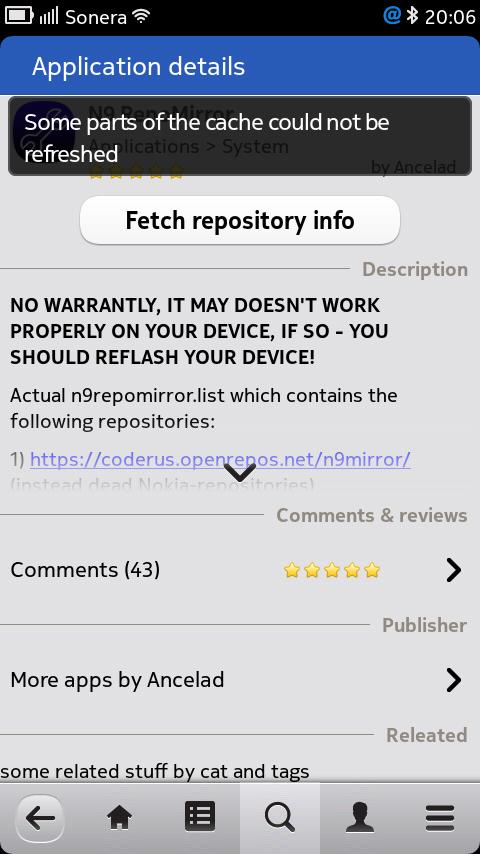
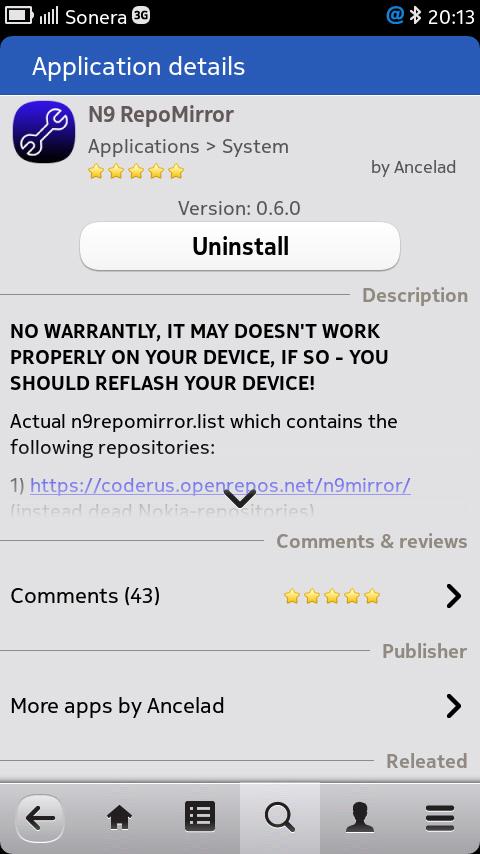
Next click Fetch repository info. I got one warning stating: Some parts of the cache could not be refreshed. How to refresh the cache? Maybe by rebooting? That should clear all the caches.
After reboot I got the Install option visible. And that is the final step. One more reboot is done during the installation. After that the SDK Connectivity icon appears on the application page. We are ready to proceed!
For connecting the N9 to the development PC you can either use a USB cable or an existing WLAN network. Maybe I’ll take the WLAN route this time.
In the Qt Creator we need to select Tools>Options>Linux Devices and then add a new configuration (Device with MADDE support). Give the configuration some descriptive name (e.g. Nokia N9 configuration) and specify the IP address given by the SDK Connectivity tool. Next we will need to create a pair of SSH keys and transfer the key information to the N9 using the password given by the SDK Connectivity tool (Deploy Key). Finally the connection will be tested. You should see: Device test finished successfully.
To use the new configuration in Qt Creator just go to the Projects page and click the ‘+’ sign to the right of the Simulator box (the current configuration). Select Harmattan. Activate the Harmattan box. Now we don’t need to change anything else as the emulator is not installed.
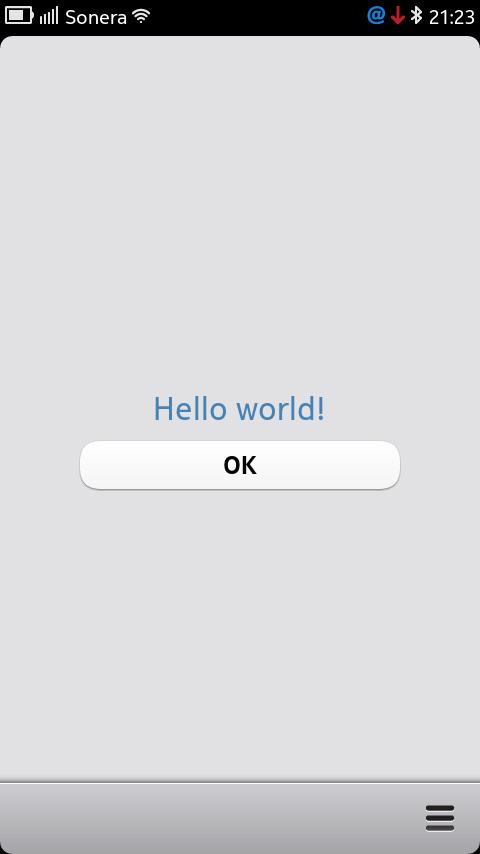
Click the play button to compile and run TestApp2 on N9. The console window contents in my case look like below. There is one X Error but I think that one we can ignore.
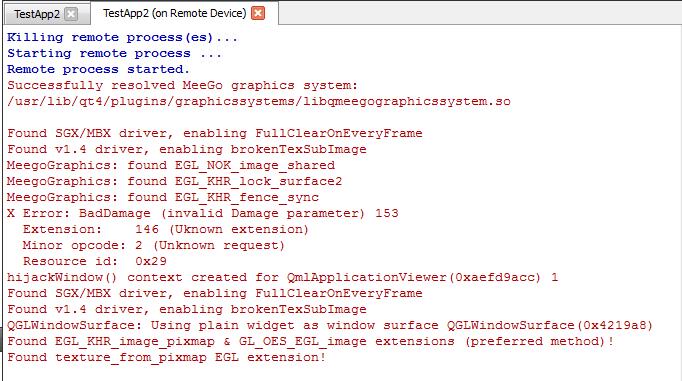
Seems to work just fine. And no cables needed this time. 🙂
If you ever need to uninstall the Qt SDK you can do it easily by going to the Start Menu and selecting Qt SDK > Update Qt SDK and then “Remove all components”.