Installing GIMP
When I install my test applications to my N9 I will always get the same default icon to the application page. To create a customized icon we would need an image processing tool. Maybe we should try GIMP which is probably the most popular FOSS (Free Open Source Software) image processing tool out there.
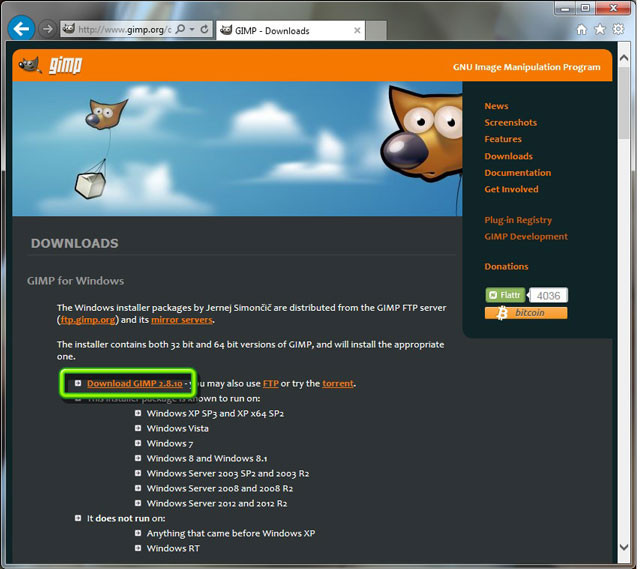
The GIMP tool can be downloaded from the GIMP web site:
http://www.gimp.org/
Just click the download link for the GIMP version 2.8.10.
Wait until the download is complete and then invoke the installer. First select the language for the installer.

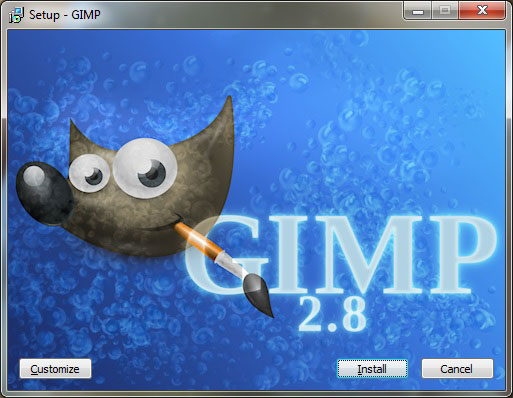
Setup screen is shown. Just click the Install button.
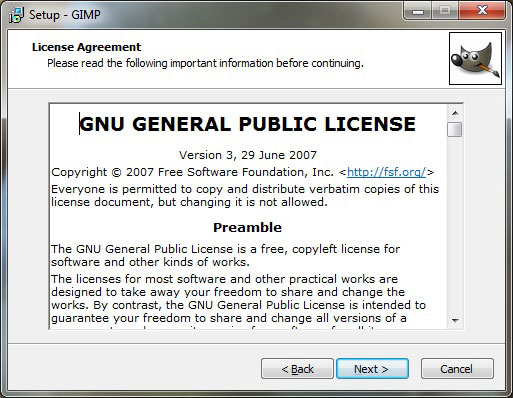
GIMP adheres to the GNU General Public License (GPL).
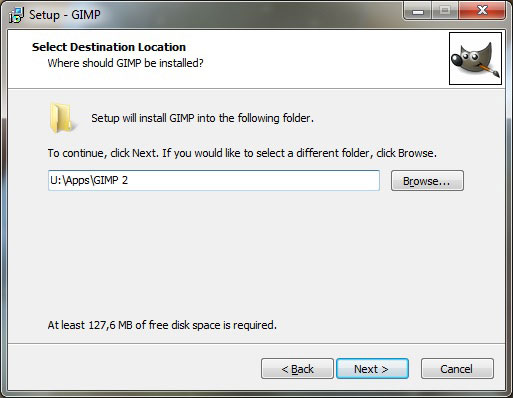
Next we need to define the installation folder. I’ll put GIMP into my Apps folder in the U: drive.
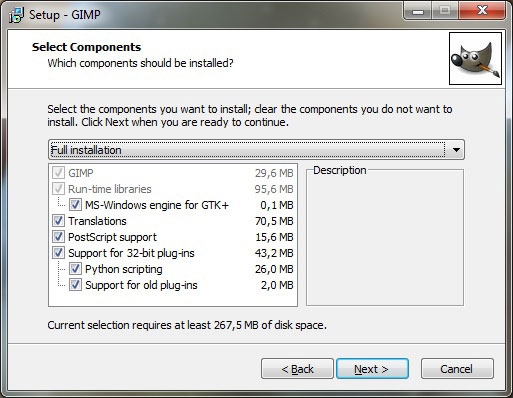
Let’s select all the components.
Next we can associate certain file types to GIMP.

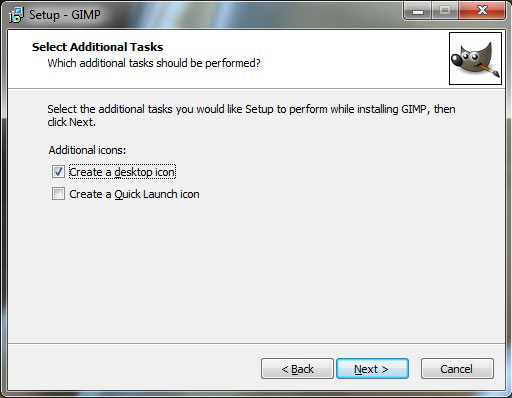
Desktop icon could be nice,
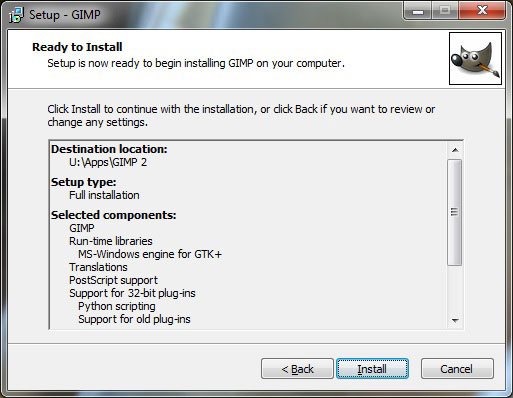
Summary of the settings is shown. I’m happy with these settings so let’s proceed.
Files are extracted and installed.
Installation ready! And we have a nice GIMP icon on the desktop.