Using the Harmattan target
The N9 Simulator is very handy for application development but eventually you will want to test the application in the real hardware, too. For that we will need to connect our N9 phone to the development PC using either a USB cable or a WLAN connection.
But first we must change some phone settings. Looking back at the release notes:
https://n9.dy.fi/2014/01/the-release-notes/
there seems to be three things we must do:
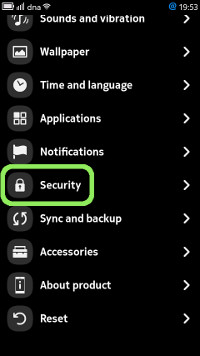
- The Developer Mode (enabling key tools and access from the
development host) must be activated in Settings > Security > Developer Mode. - The ability to install applications from other sources than Nokia
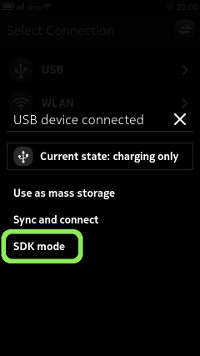
Store must be activated in Settings > Applications > Installations. - When you connect the device to the host machine via USB cable, ensure that the “SDK” mode is selected.
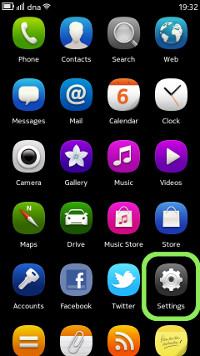
So let’s first enable the developer mode:

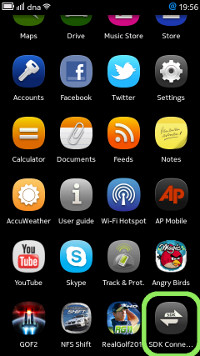
After the developer mode has been enabled you should see the SDK Connectivity icon in your application page.
Next enable “Allow installations from non-Store sources” under Settings > Applications > Installations. And then just grab a USB cable and connect the N9 to your PC. Windows should report shortly that it has installed the drivers and that the device is ready for use.
N9 will ask to select the connection mode. Select the SDK mode as instructed above.
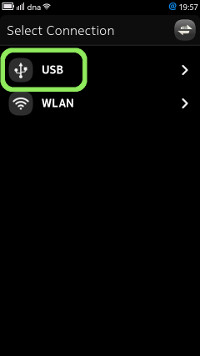
Next we will need to create a network connection through the USB link. That is done with the SDK Connectivity application. So let’s fire up the SDK Connectivity and select USB as the connection type.
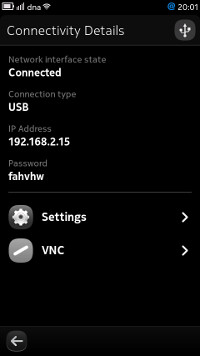
If everything goes well you should see the Network interface state as: Connected. There’s also the IP address and password shown.
Now we are ready to go back to the QtCreator.
Let’s see how the TestApp7 (Context Properties) behaves when run on the Harmattan Target i.e. our real N9 phone.
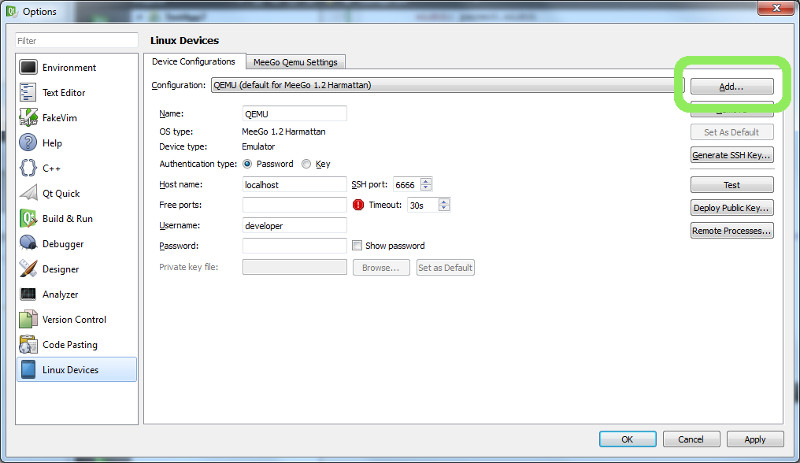
Load the TestApp7 and then go to Tools>Options and select Linux Devices. Click the Add… button to add a new configuration.
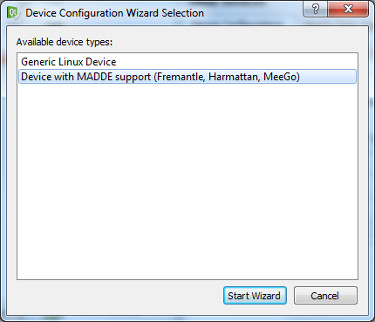
Select the device type = Device with MADDE support (Fremantle, Harmattan, Meego) and then click Start Wizard.
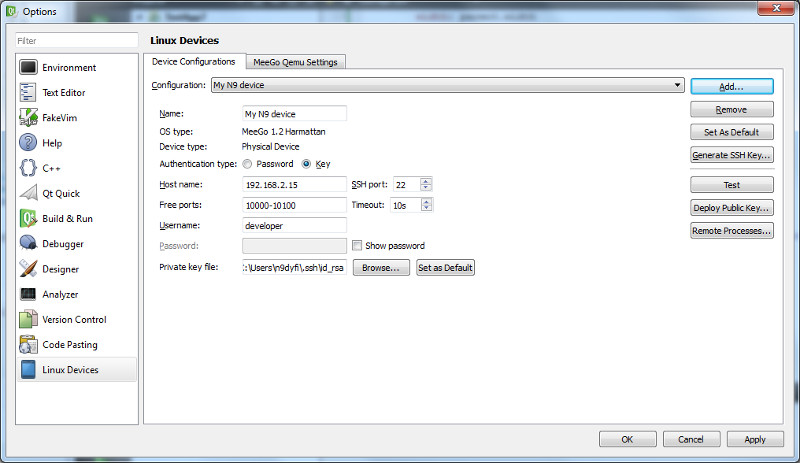
Give some descriptive name for the configuration, like “My N9 device”. Note that the IP address should match with the IP address shown before in the SDK Connectivity application.
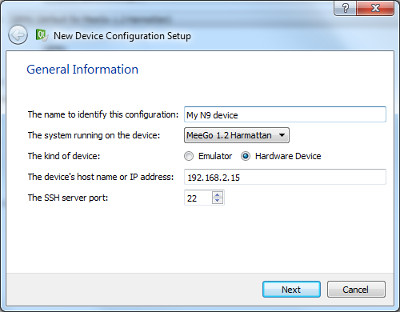
Click Next. As I haven’t yet set up the passwordless login for my device I’ll select No in the next dialog.
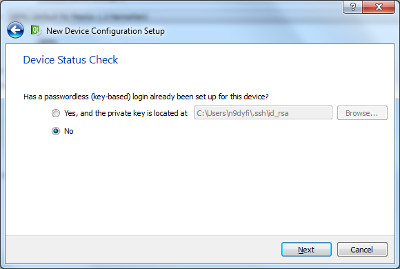
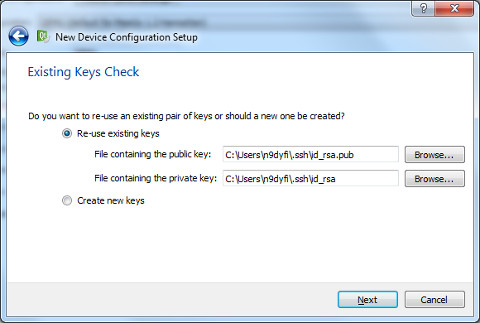
Next I have to choose to either use my existing Github keys or create new ones. Maybe I’ll just use the existing ones.
Finally the wizard will setup secured connection to the device. For that we will need the password from the SDK Connectivity application.
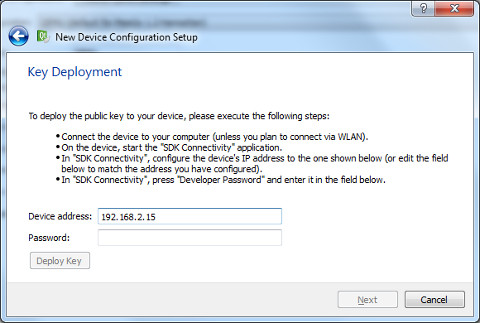
Enter the password and click “Deploy Key”.
Click OK and Next.
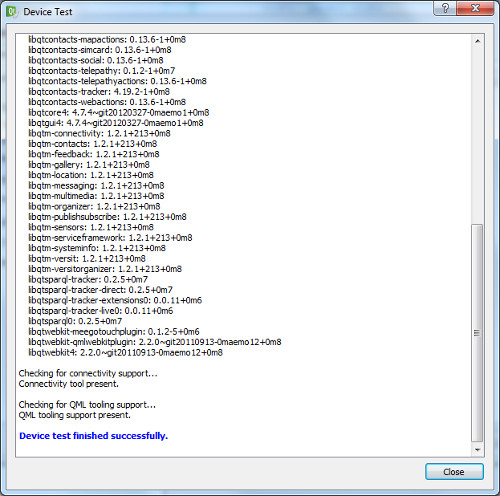
Click Finish. The connection will be tested. Everything seems to work just great!
The device configuration page has now a new configuration called “My N9 device”. We are ready to go!
Or not quite yet. 🙂
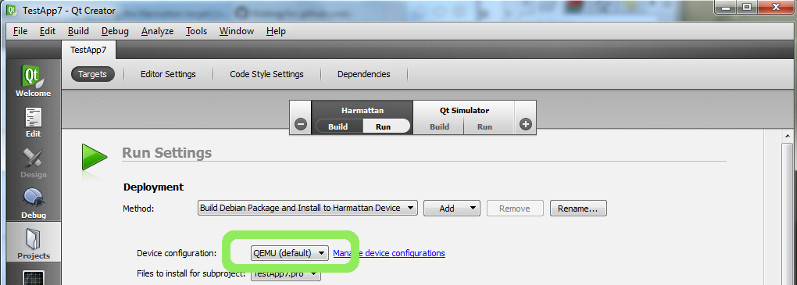
Actually there is one more thing we need to configure and that’s the Run settings for the Harmattan target. As I have also the N9 emulator installed the default Harmattan target is the emulator. But now we would like to run the application in our real device instead.
So let’s go to the Projects page and select the Harmattan target Run settings. The current device configuration is QEMU. Let’s change that to “My N9 device”.
Now we can run the application and see what happens.
First the application is copied to N9 and the application icon becomes visible in the application page.
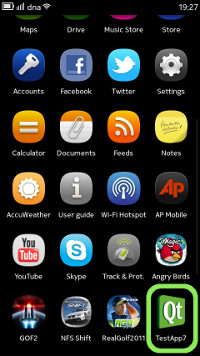
The application starts and a familiar screen appears. The scrolling works just like in the simulator and we can display the icons. Great!