Using Git in QtCreator
This is simple. Let’s recreate the test application and this time let’s ask QtCreator to add the source files under version control. Just click Create Project… and name the new project TestApp2.
When we reach the Summary page we have the possibility to select a version control system to use (of course there’s only one option for me as I haven’t installed other systems than Git).
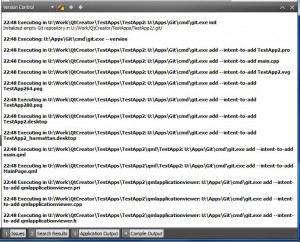
After clicking Finish the Git repository will be created under the project folder (with git init command) and the project files are added to a so called staging phase. The Git commands are shown in the QtCreator Version Control window.
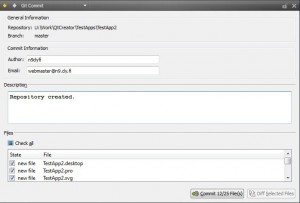
The final step is to commit the changes to the repository. Just select Tools>Git>Commit. This opens a window where you can select the files to commit (from the set of files added in the previous step). Also a comment must be added.
Click commit to proceed. The Version Control window shows a report of the commit operation.
Looks like we have successfully added our project to a Git repository. The repository is fully contained in the folder .git under the project folder. To get rid of the repository just delete the .git folder.
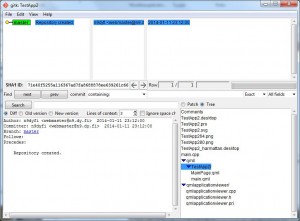
There is also a repository browser included in the QtCreator. To start the tool just select Tools>Git>Lauch gitk. The upper part of the window shows our branches (currently there is only one branch called Master) and the lower part shows details about the selected branch. Also a tree view is visible showing all the files in this branch.
Another useful command is: Tools>Git>Status that shows the current status of our work folder against the repository.
There seems to be one untracked file: TestApp2.pro.user. However, this file looks like it contains some QtCreator user interface settings (like editor configuration), which obviously don’t belong to the application. As the file wasn’t added to the staging phase it will be ignored while committing files to the repository.


